How to Take Amazing Product Photos
November 18, 2024
First impressions matter. And often, that first impression for your product is a photo. A stunning, high-quality image can make customers stop scrolling, build trust, and lead to a sale. Whether you're new to product photography or looking to step up your game, this guide is here to help you take captivating product photos without breaking the bank.
Set the Stage: Prepare Like a Pro
Good photography starts with great preparation. You can’t just pick up a camera (or phone) and expect magic. Here’s how you set yourself up for success:
If you're shooting fashion, start with the basics: clean, wrinkle-free clothing. Nothing kills a product’s vibe faster than sloppy presentation. Grab that iron or steamer, and make your garments look runway-ready.
Next, think through your shoot. Planning ahead can save you hours of frustration later. Organize your outfits, props, and shot list so you don’t waste time scrambling mid-shoot. While you're at it, clean your equipment—dusty camera lenses (or smudgy phone cameras) will only give you blurry results.
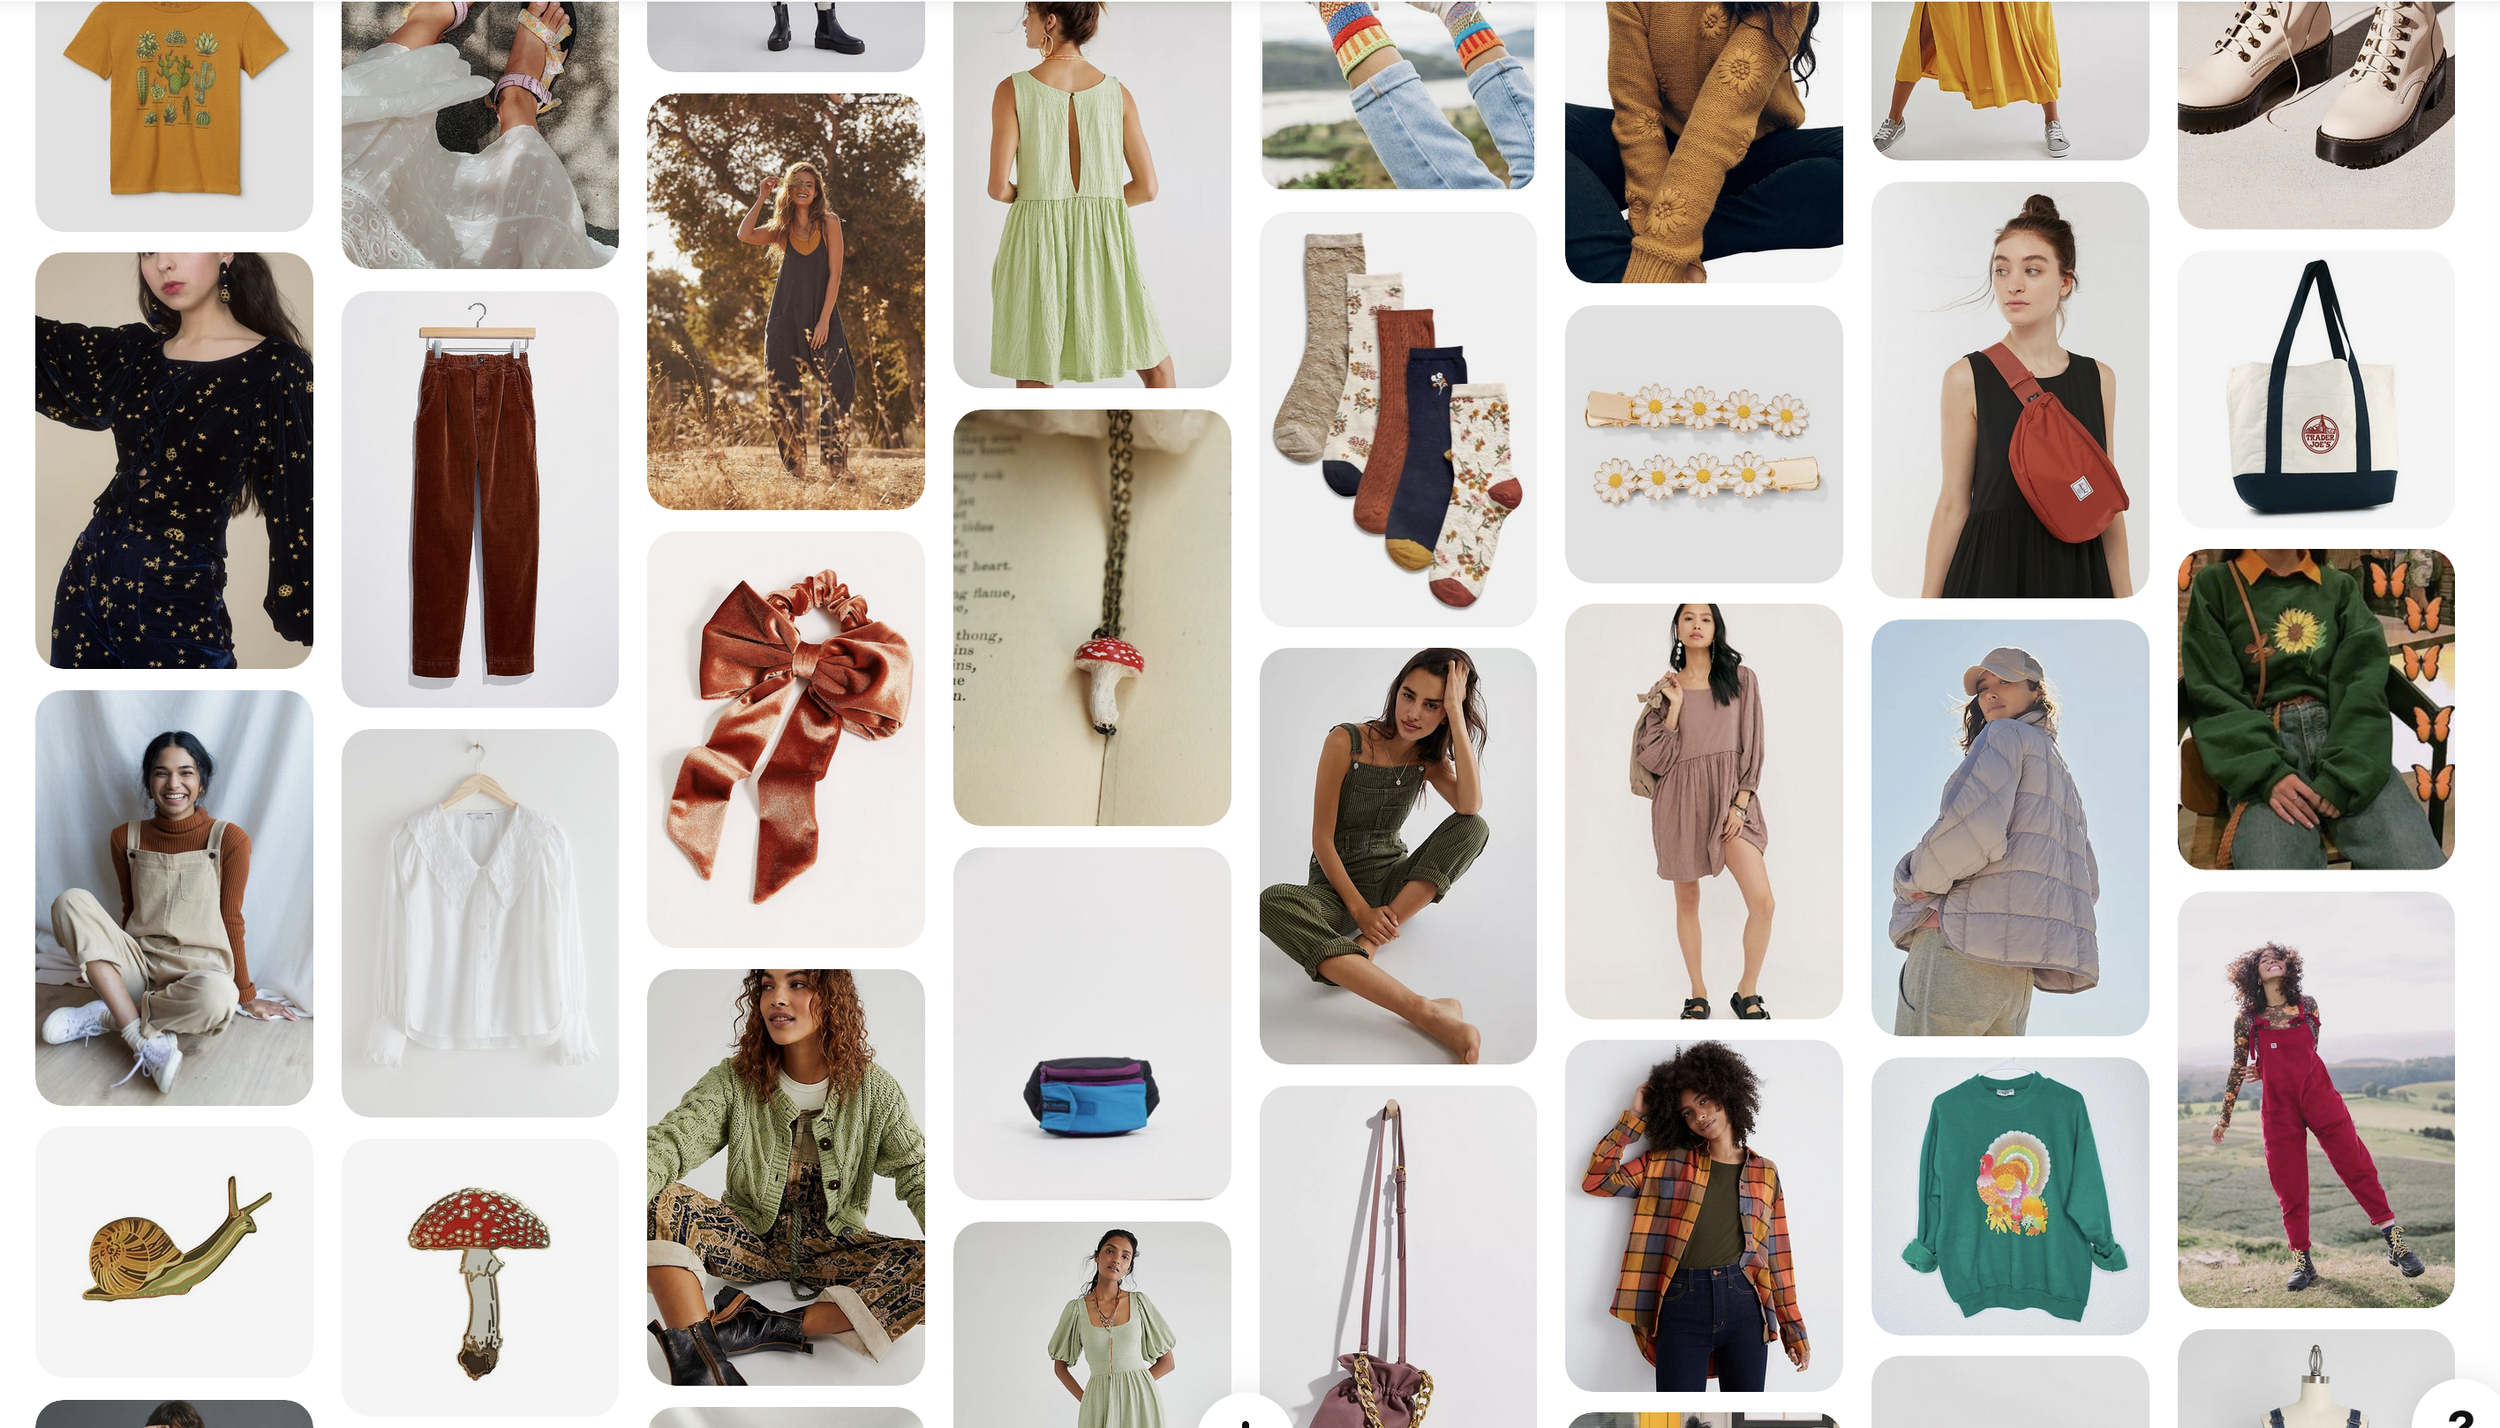
And don’t forget to gather inspiration! Platforms like Pinterest are a treasure trove of styling ideas, poses, and composition tips. Create a mood board, explore trending styles, and get inspired before you start snapping.
Remember: "Failing to plan is Planning to fail"
Gear Up Without Breaking the Bank
While investing in quality equipment is always a good decision you'll be surprised how much difference a DIY setup can make compared to raw dogging the photoshoots
Backdrop A neutral, seamless white backdrop with a sturdy stand for a clean, consistent look. Pro tip: to get that seamless “infinity wall” look, bend a large sheet of white paper or fabric so it curves gently onto the surface below. The result? A clean, endless background that makes your product pop.
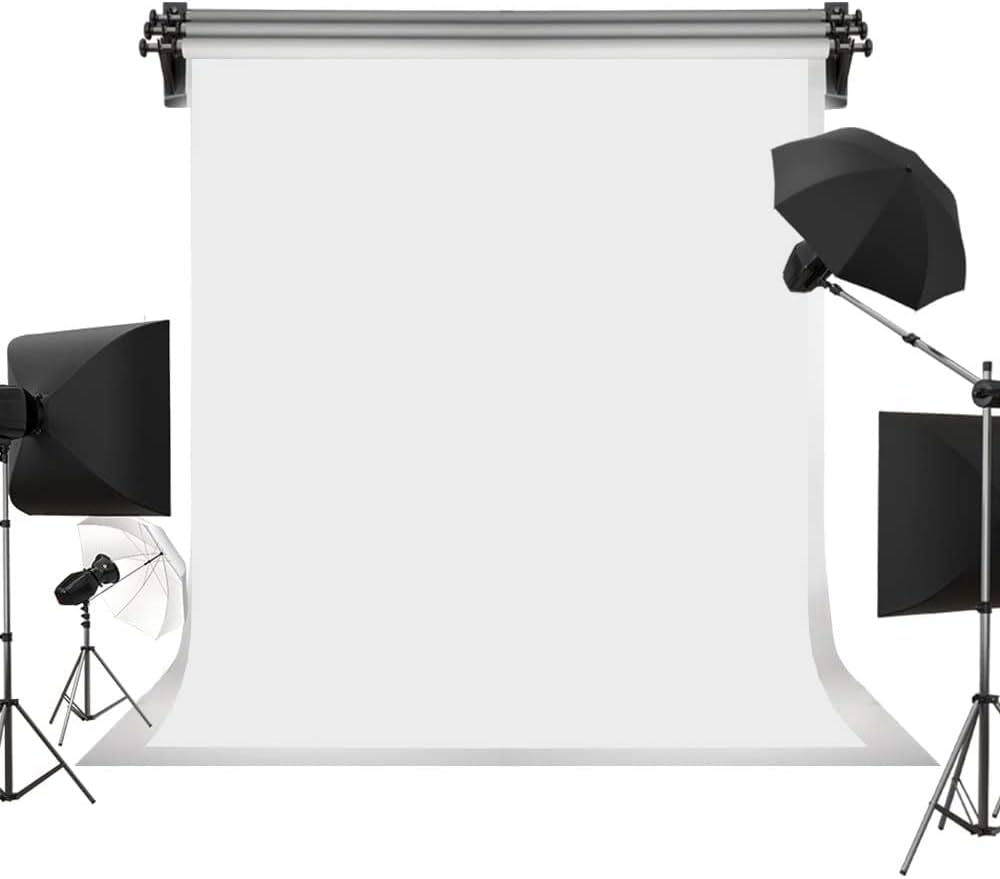
Lighting Kit Lighting is your best friend—or your worst enemy if you’re not careful. Hard, direct lighting can create harsh shadows, while soft lighting gives your photos a warm, flattering glow. You don’t need an expensive lighting kit to achieve this. Bounce light off a white wall or use a cheap diffuser to spread light evenly. A desk lamp paired with a DIY diffuser (think a thin white cloth or even parchment paper) works wonders.
Camera & Lens If you have a DSLR or mirrorless camera, fantastic! A 24-70mm lens is versatile enough to handle most shots. But don’t worry if you don’t. Today’s smartphone cameras are insanely capable, especially with some smart lighting and editing.
Tripod Now i have shaky hands and even if you don't, investing in a tipod or an octopod will make taking consistent photos so much easier. You can also DIY one but here i'd recommend to just shell come coins for number of sheer use-cases that it'll come handy in
Lighting: The Secret Sauce
Let’s talk about lighting—because honestly, it’s everything. Get the lighting right, and even a basic setup can produce jaw-dropping photos. So below are some standard terminologies for lighting setups and how you can achieve it using DIY
Soft vs. Hard Light Use larger light sources for soft, flattering light; smaller sources for sharp, detailed textures. This can essentially be achieved by bouncing your light from a wall ideally white or gray. The distance between your light source and the wall will determine the size of the ligthtsource Soft lighting is ideal for most product photography. Think of the kind of light you’d see on a cloudy day—gentle, even, and forgiving. You can mimic this by placing your light source close to a wall and letting it bounce back onto your product.
Bounce Light Reflect light off white walls or ceilings for soft, even illumination. This is a great technique and you can use essentially any surface to take advantage it this.
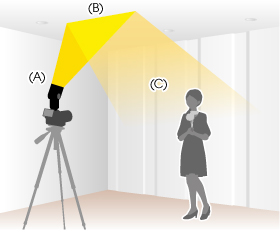

Directional Lighting In-case you wanna make a statement or just add some creativity to your photos playing around with the direction of the light source can be a great addition, helping you add depth and texture.

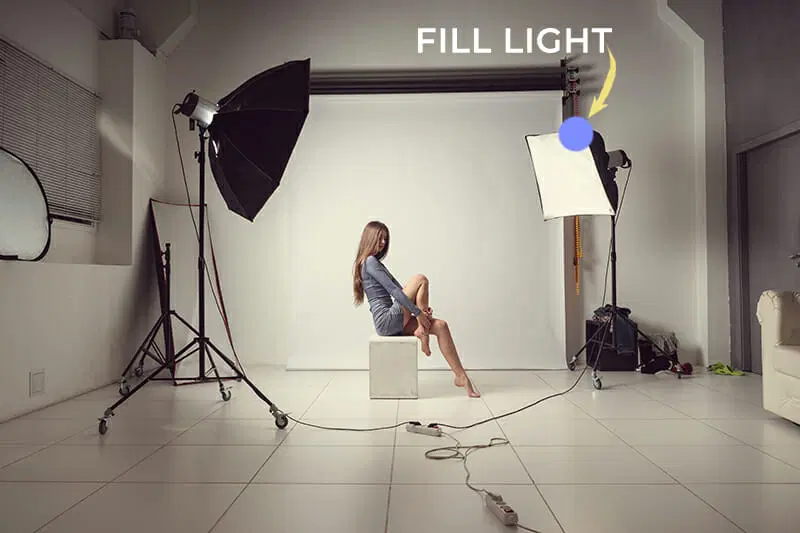
Fill Light If you have one source of light making sharp shadows you can another source or a surface to bounce back the light to reduces shadows and balance the exposure.
Capturing the Perfect Shot
When it’s time to shoot, take your time to experiment. Show off your product from multiple angles, especially the ones that highlight unique features. A great product photo isn’t just about looking good—it’s about telling a story.
Use a high f-stop (or your phone’s portrait mode) to make sure everything stays crisp and in focus. If you’re photographing clothing, mark positions on your backdrop to keep your model’s placement consistent across shots. Uniformity is key, especially when creating product listings.
The Right Model (or Not?)
If you’re shooting fashion, selecting the right model is as important as the photography itself. Choose someone who reflects your brand’s values and resonates with your audience. Consider size, ethnicity, gender, and even skin tone to create a connection with your target customers.
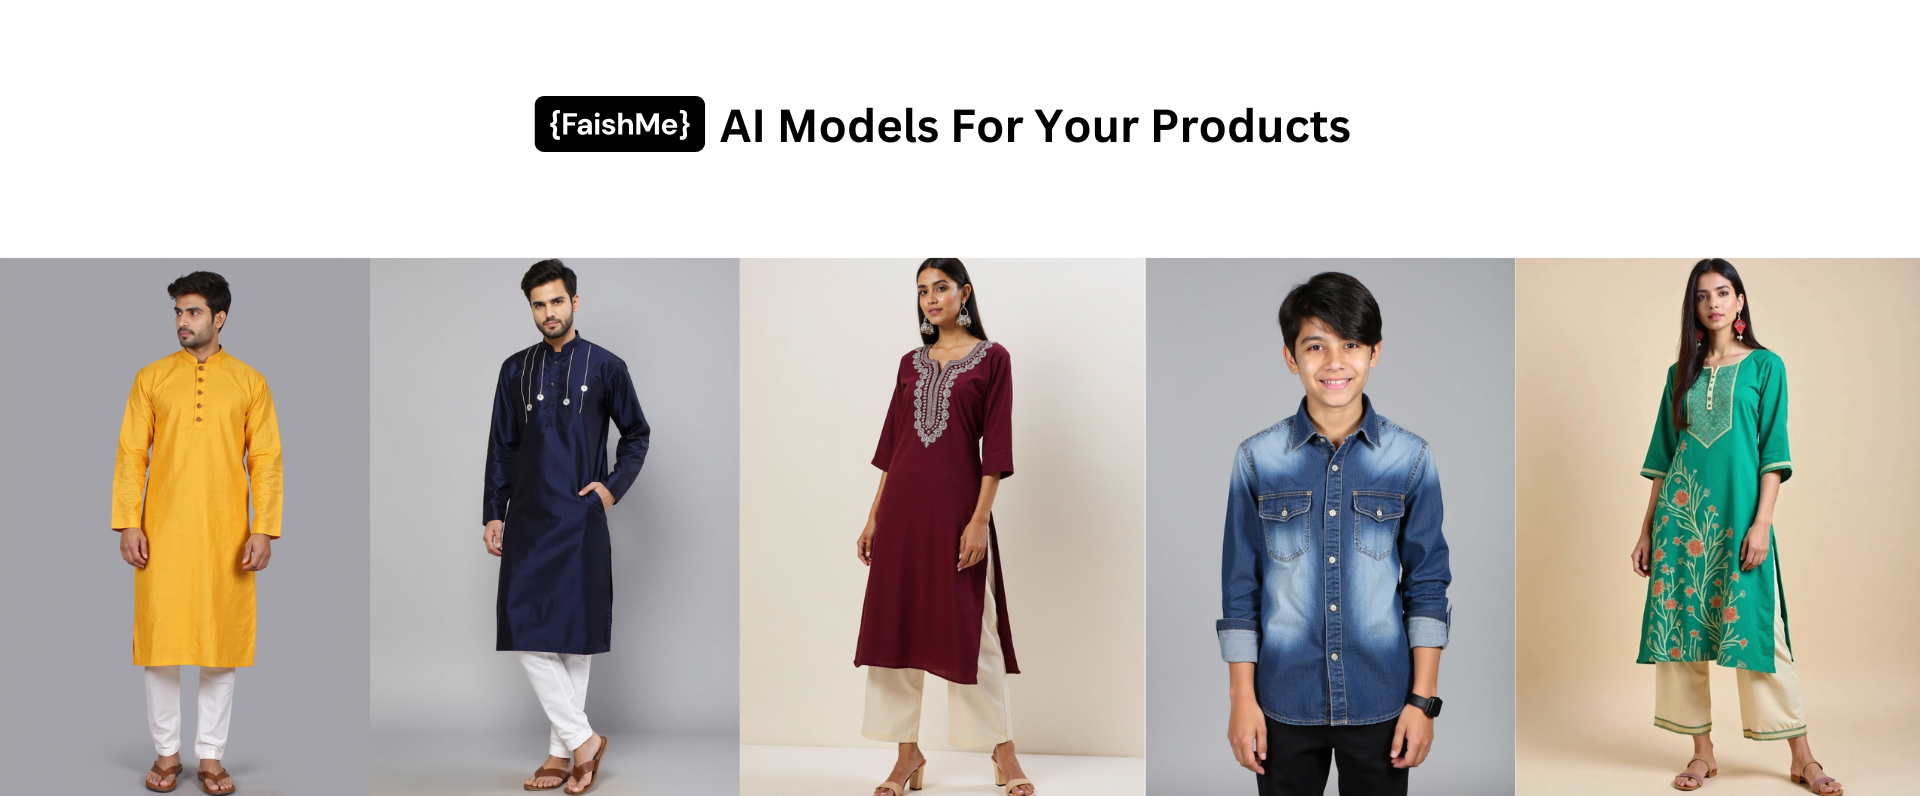
But what if you can’t afford to hire models? That’s where AI comes in. Platforms like FaishMe can generate stunning, lifelike models in diverse sizes and ethnicities, saving you time and money while giving your brand an inclusive edge.
Backgrounds That Wow
Not every shot needs a plain white backdrop. A striking background can add personality and context to your products. Whether you’re setting up a scene with props or choosing an interesting location, make sure it complements—not overwhelms—your product.
And if creating realistic backgrounds sounds daunting, AI tools can help here too. You can easily replace plain backdrops with beautiful, custom-designed scenes that match your brand’s vibe. No expensive set-building required!
Enter the AI Era: Simplify Your Workflow
Let’s face it: perfecting every aspect of product photography is hard work. From arranging models to editing backgrounds, it can quickly become overwhelming. That’s where AI tools like FaishMe shine.
Here’s how FaishMe transforms your photography game:
- Replace human models with stunning, realistic AI-generated ones.
- Add any background to your product shots in minutes.
- Turn plain mannequin photos into lifelike catalog images.
- Use virtual try-on tools to showcase products on diverse AI models, ensuring inclusivity and representation.
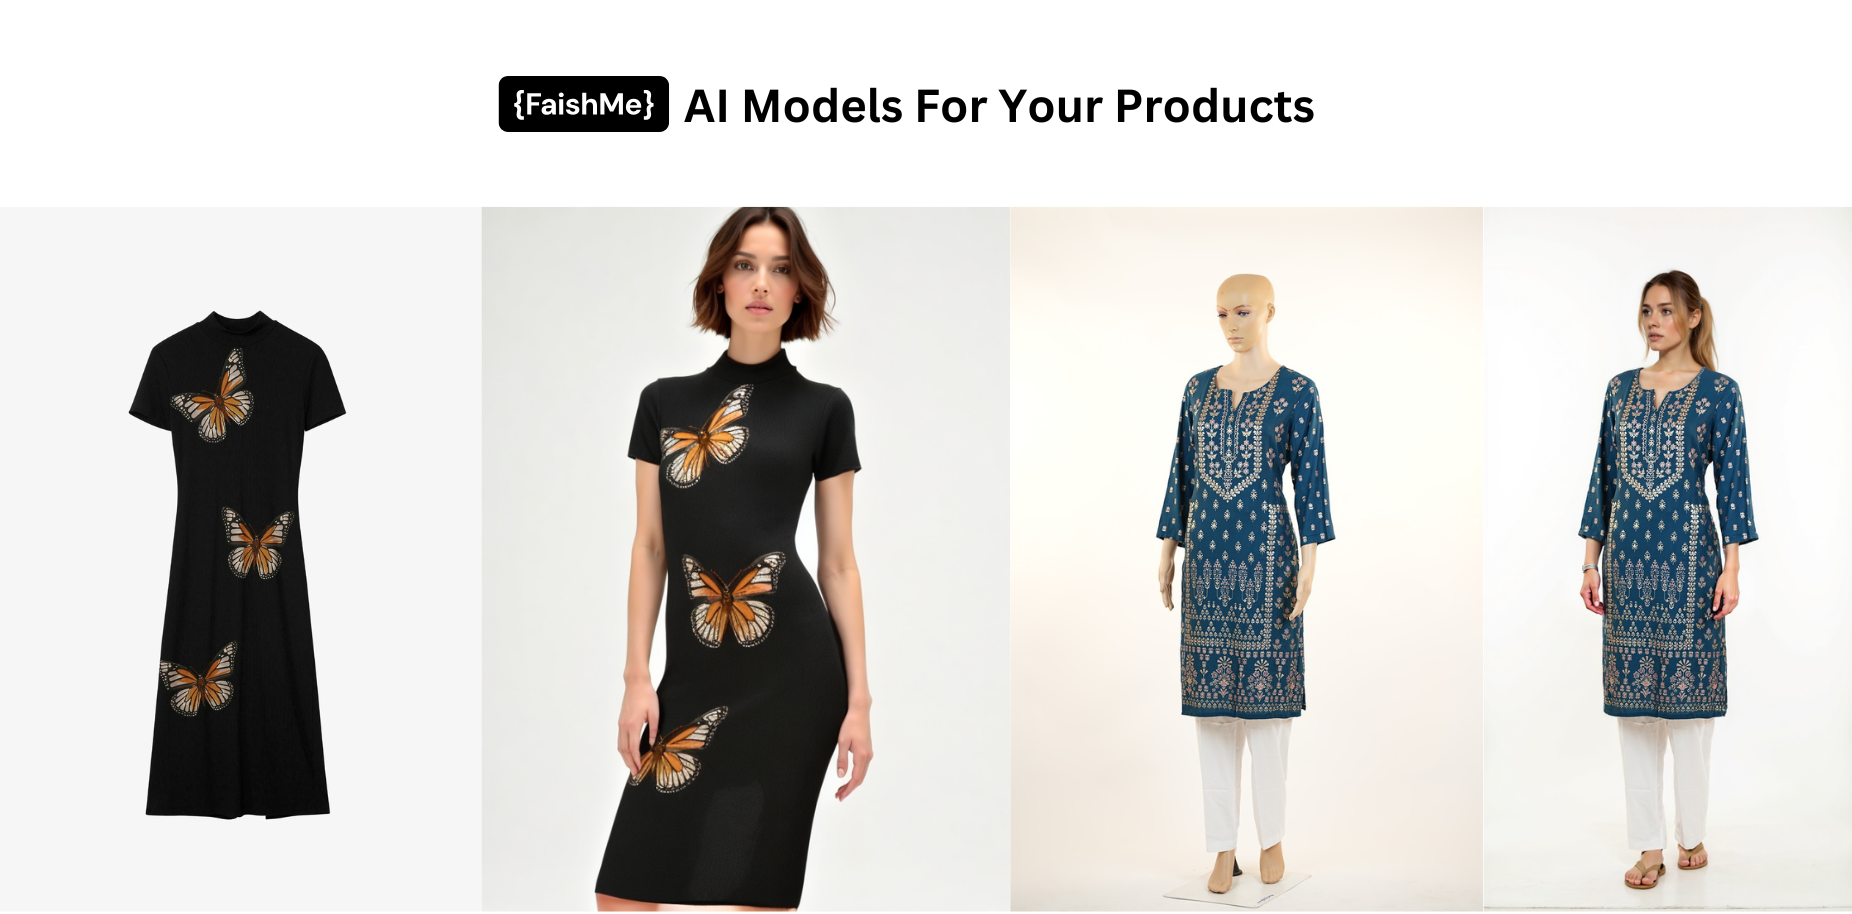 The best part? You save money, time, and effort while achieving professional-quality results.
Final Takeaway
E-commerce is a visual game, and stellar product photos are your ticket to winning it. With careful preparation, smart techniques, and innovative tools like FaishMe, you can create images that not only look incredible but also drive sales.
